Monday, May 2, 2011

Block Picture Holder

Love this idea! I have also made one that matches my kitchen to hold recipes cards! This one in the picture is very simple but you can make it as elaborate as you like!

What you need:
*Block  5.5 X 7.5  at about 1ich thick piece of wood (Home Depot was super nice about cutting it for me!)
* Stain of your choice
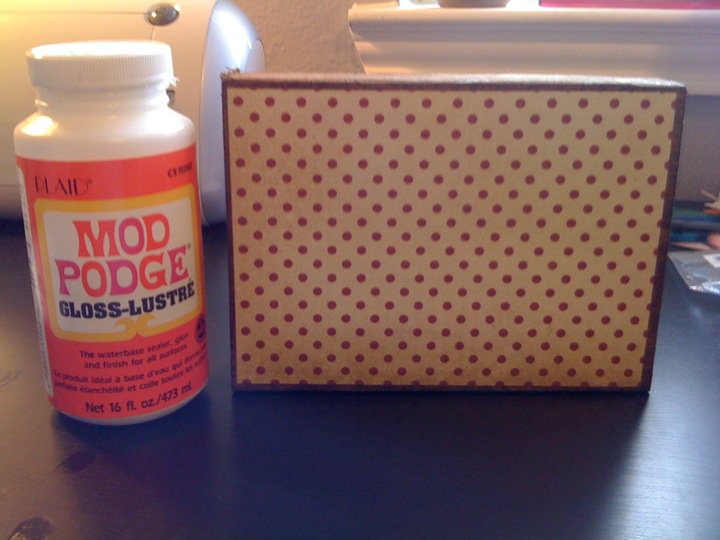
*Mod Podge
*Tacky Glue
*Scrap-booking paper and matching embellishments

(1) Stain your block with your choice of color! Make it as dark or as light as you like!

(2) Cut your scrapbook paper to fit the size of your block! You can make it as small or as large as you like but remember if you are putting a picture on this you are going to want some paper showing! Put a small amount of Mod Podge on your block and add the paper on top! Use your hands to smooth out the paper and give it a few mins to dry! Once it is dry paint on a thin layer of MP on top, this help protect the paper and its edges!


(3) Use tacky glue to add embellishments wherever you like! Make sure you put a clip on the top so that you can "clip" a picture to your block!

Other Options: 
I teach preschool and one of our Christmas projects was to make a tree on a block as a gift to parents! We put the scrap-booking paper on the block then did a handprint on a separate  white paper and cut the white paper a little smaller so that the scrapbook paper could be seen! Be careful when MP your tree on because some paints (most) will bleed! Lightly brush on the MP on top of your tree! 
Then let the kids add where they want stars and other embellishments! 
Here are some examples, they really came out cute!


Sunday, May 1, 2011

Dorm room style

My sister is currently in college and I know all too well the rules of living in the Dorm! I made this for her to put her pictures on and she can hang it up on the wall with thumb tacks (if thats allowed) or even get the pull tabs that just stick and can be pulled right off!

It's really simple! All I used was a painters canvas , material of your choice, ribbon, & embellishments! 
*You can use something a little cheaper than a canvas like foam board but a canvas seems
 to last longer and gives it a cleaner look

(1) I cut the material slightly larger than I thought I would need to use it (better safe than sorry) and then pulled it tight around the back of the canvas and used a stapler to pin it down! I did this along all the sides! 
(2) For the corners I cut a slit down its center but not all the way to the edge so that it folded over easier, however you will be covering this with embellishments so it's not that big of a deal!

(3) Chris cross ribbon all the way across the canvas! You can do as many or as little as you like! Where the ribbons crossed each other I put a dab of hot glue! You don't want it underneath all your ribbon or you want have a place to put your pictures in! :) I Then add some jewel embellishments over the crossed ribbons just for some added fun and it covers the glue spots! 
*Make sure you pull your ribbon tight so!! 

(4) Add any time of matching embellishment along the edge! I choose to you something "fuzzy" that way it covered any flaws I had along the edges! However you can choose to leave it empty or add a simple ribbon!

(5) Lastly you will want to add any other embellishments you choose! Maybe a letter of the first name to the person you are giving it to or some cute matching flowers! 

* If you wanted to make one for a boys room just use more masculine material and not too many embellishments!